

Toggle Clamps for Welding Fixtures: Selection Guide
Toggle Clamps for Welding Fixtures: How to Choose, Place & Protect Them
A weld fixture has one job: hold every part in the same place while heat tries to pull it somewhere else. Toggle clamps are the fastest way to do that — if they're the right type, in the right spot, and kept clear of spatter and weld current.
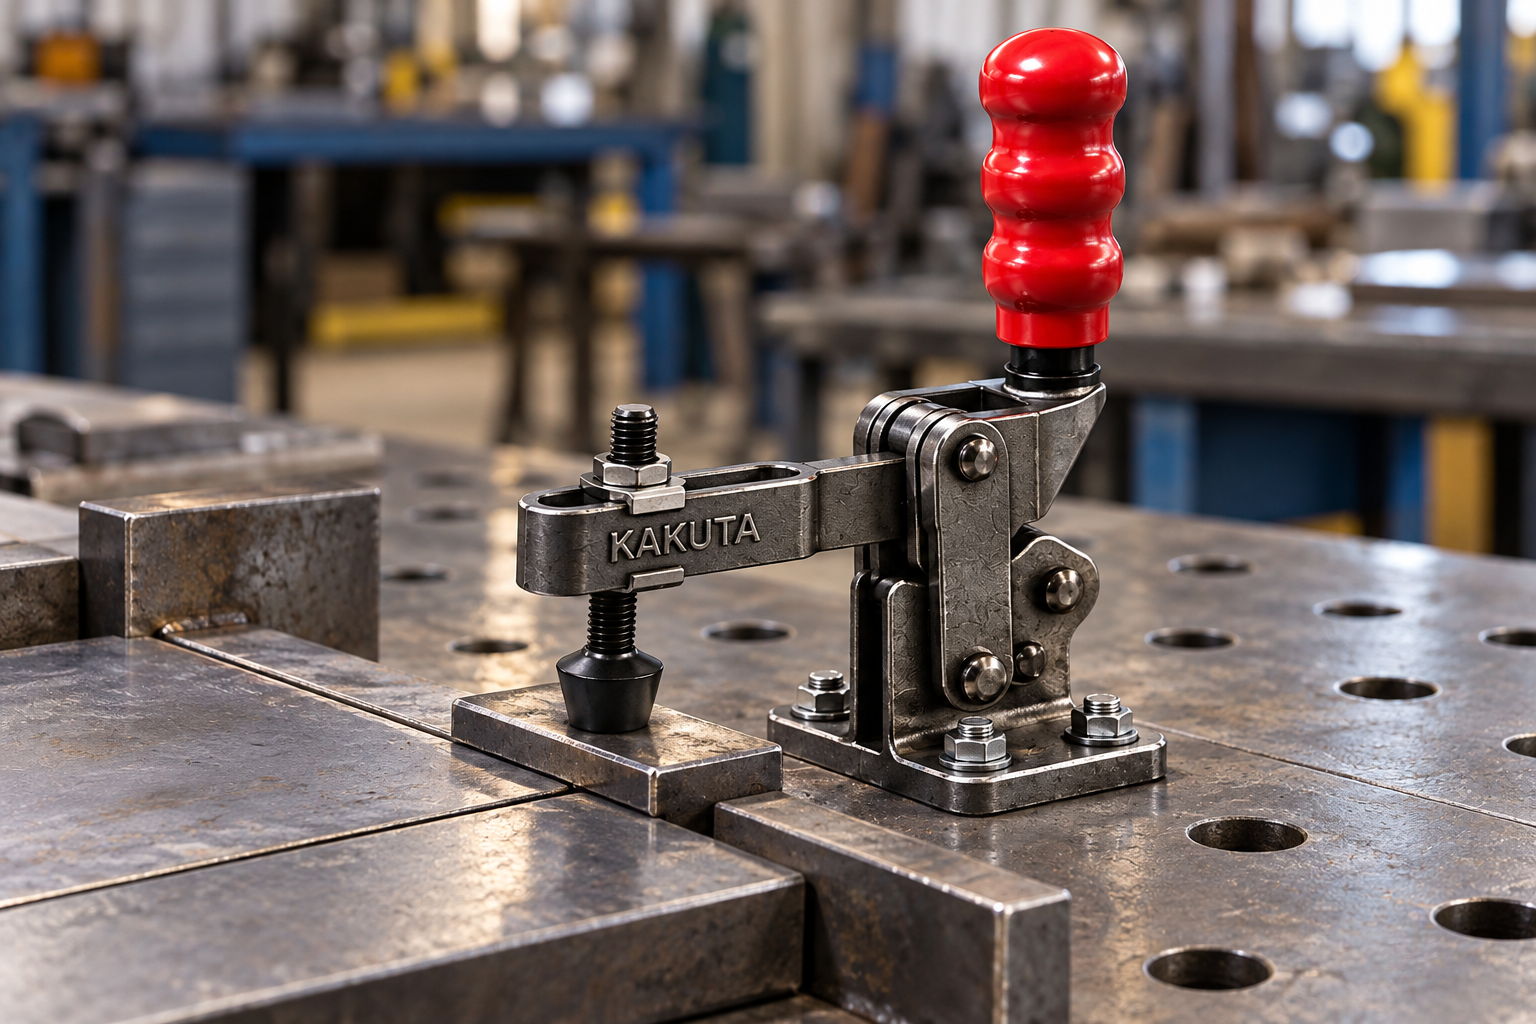
Welding is one of the toughest jobs a toggle clamp does. The clamp has to hold parts tight against locators, survive spatter and radiant heat, cycle hundreds of times a shift, and resist the pull of the weld as the metal cools and shrinks. Because a toggle clamp locks itself through an over-center linkage →, it holds with no ongoing effort and opens with one motion — exactly what a production weld cell needs.
This guide covers which toggle clamps suit welding, where to put them, how much holding force to plan for, and the three things that kill clamps in weld cells: spatter, heat, and stray current.
Why Toggle Clamps Work So Well for Welding
- Speed. One flip of the handle clamps or releases the part, so load-and-unload time stays short on repetitive weldments.
- Repeatability. Once the spindle height is set, the clamp closes to the same position with the same force every cycle — so every part is held the same way.
- No power required. Manual toggle clamps need no air or electrical lines around the arc, which keeps fixtures simple and portable across welding tables.
- Positive lock. Past center, the clamp resists being forced open by the load, so the part stays put while the weld cools.
Which Toggle Clamp Type for Which Weld Job
Match the clamp to the direction the part needs to be held and the space around the joint. Our full guide to the types of toggle clamps → goes deeper; here's how they map to welding:
Vertical hold-down clamps
The workhorse of the welding table. The upright handle is easy to reach with gloves on, and the spindle presses straight down to hold plates and brackets flat against the table or locating pads. Best on open-top fixtures with room above the part. Browse the vertical hold-down range →.
Horizontal hold-down clamps
The flat handle stays low when clamped, keeping it out of the torch path and out of the way of robot arms or overhead access. Choose these when clearance above the part is tight or the welder needs to work across the fixture. See the horizontal hold-down range →, or compare the two in horizontal vs. vertical toggle clamps →.
Push-pull (straight-line) clamps
A plunger that drives in a straight line pushes parts sideways against stops — ideal for closing a fit-up gap, butting two tubes together, or holding a part against a side locator. Explore the straight-line / push-pull range →.
Latch (pull-action) clamps
A hook draws two surfaces together and locks them closed. Useful for holding hinged fixture gates, clamping bars, or two halves of a fixture shut around a part.
Placement: Where the Clamp Goes Matters as Much as Which Clamp
Good weld fixtures separate two jobs: locators position the part, and clamps hold it against the locators. Don't rely on a clamp to find the part's position — press the part into fixed stops, pins, or pads, and let the clamp keep it there.
- Clamp over support. Put the spindle directly above a locating pad or solid backing, so clamping force doesn't bend thin sheet or bow a flange.
- Clamp close to the joint. The nearer the clamp is to the weld, the better it restrains the metal where distortion starts. Leave enough room for the torch angle and filler access.
- Clamp in the direction of the pull. Weld shrinkage tends to lift and draw parts toward the joint. Orient clamps so they resist that movement rather than sit sideways to it.
- Leave handle clearance. Make sure every handle can travel its full stroke and that a released clamp won't foul the part coming out of the fixture.
- Mount rigidly. Bolt through every mounting hole into a flat, stiff fixture plate — our toggle clamp installation guide → covers the details.
How Much Holding Force Does a Weld Fixture Need?
Welding loads are harder to predict than cutting loads. As a bead cools, it shrinks and pulls on the parts around it, and that pull can be significant on heavy sections and long seams. Vibration from grinding or hammering between passes adds to it.
The practical approach is the same one we use for any fixture: estimate the force trying to move the part, apply a safety factor, and choose a clamp whose rated holding capacity comfortably exceeds the total. Our guide to choosing clamping force → walks through the calculation. For welding specifically:
- Use more, smaller clamps along a long seam rather than one large clamp at the end — distributed restraint controls distortion better.
- Heavier sections and longer welds generate more shrinkage pull; size up accordingly.
- Set force with the spindle height, then test on a real weld. If the part moves or lifts, add restraint or reposition before you add force.
Restraint vs. stress. Clamping a weldment rigidly limits distortion, but the shrinkage has to go somewhere — it stays in the part as residual stress. Work with your weld procedure (sequence, tack pattern, pre-setting) rather than trying to fight all distortion with clamping force alone.
The Three Clamp Killers in a Weld Cell
1. Spatter
Spatter lands on spindles, threads, and pivot joints, then hardens. Threads seize so the spindle can't be adjusted, and packed pivots make the handle stiff and wear the pins faster.
- Position clamps and handles out of the direct spatter line where you can, and shield them with a simple guard plate if they must sit close to the arc.
- Use a metal contact bolt or hardened spindle tip near the weld — rubber or plastic tips don't hold up to hot spatter.
- Anti-spatter compound on the spindle threads and contact tip makes cleanup easier. Keep the pivot points clean and lightly lubricated per our maintenance guide →.
2. Heat
Clamps near the arc absorb radiant and conducted heat. Soft tips and handle grips degrade, and hot steel parts will transfer heat straight into the spindle. Keep the clamp body out of the immediate heat zone where the fixture layout allows, reach the part through the spindle rather than the arm, and give operators clamps whose handles stay reachable with welding gloves.
3. Stray weld current
A toggle clamp is not a ground clamp. If the work lead is poorly connected, weld current can find a path through the clamp's spindle, pins, and pivots — arcing across the joints, pitting pins, and welding parts of the linkage together. Always attach the work (ground) lead securely to the workpiece or a dedicated grounding point on the fixture, with a solid, clean connection, so current never has to travel through a clamp.
Welding Fixture Clamp Checklist
| Check | Do this | Skip it and… |
|---|---|---|
| Type | Vertical for open-top, horizontal for low clearance, push-pull for side loading | Handles block the torch or the part can't be held in the needed direction |
| Locators | Fixed stops position the part; clamps only hold it there | Parts land in a slightly different spot every cycle |
| Placement | Over support, near the joint, against the direction of pull | Thin parts bend under the clamp, or the weld pulls the part out of position |
| Force | Rated capacity above shrinkage load plus safety margin; spread across several clamps | Parts lift or shift as the weld cools |
| Spatter | Metal tips near the arc, shielding, anti-spatter on threads | Spindles seize and pivots stiffen |
| Grounding | Work lead on the part or a dedicated fixture ground — never through a clamp | Arcing pits the pins and ruins the linkage |
Conclusion
The right toggle clamps make a welding fixture fast to load, repeatable, and accurate: choose the type by holding direction and clearance, let locators position the part while clamps hold it there, place clamps over support and close to the joint, size holding force for weld shrinkage with a margin, and protect every clamp from spatter, heat, and stray current. Do that and your fixture will hold the same part the same way, weld after weld.
Frequently Asked Questions
What type of toggle clamp is best for welding?
Vertical hold-down clamps are the most common choice for welding tables because the upright handle is easy to reach with gloves and the spindle presses parts flat against the fixture. Horizontal hold-downs suit fixtures with tight clearance above the part, push-pull clamps push parts sideways against stops to close fit-up gaps, and latch clamps pull fixture gates or halves closed.
Where should toggle clamps be placed on a welding fixture?
Place clamps directly over a locating pad or solid support, as close to the weld joint as torch access allows, and oriented to resist the direction the weld will pull the part as it cools. Use fixed locators to position the part and let the clamps hold it against them.
Can I ground my welder through a toggle clamp?
No. A toggle clamp is not designed to carry weld current. Current passing through the spindle and pivot pins can arc across the joints, pit the pins, and even weld the linkage. Attach the work lead securely to the workpiece or a dedicated grounding point on the fixture.
How do I protect toggle clamps from weld spatter?
Keep clamps out of the direct spatter line where possible, shield clamps that must sit near the arc, use metal contact bolts or hardened tips instead of rubber near the weld, and apply anti-spatter compound to spindle threads and tips. Clean spatter off regularly and keep pivot points lightly lubricated.
Build a better weld fixture
Browse KAKUTA USA's vertical, horizontal, and straight-line push-pull toggle clamps — precision hold-downs for welding, CNC, and assembly, ready to ship from Valencia, CA.
See the full range →🔩 Looking for the Right Toggle Clamp?
Browse KAKUTA USA's full range of Release-Lock Toggle Clamps — built for precision workholding in CNC, welding, and assembly.
Shop Toggle Clamps →